[vc_row][vc_column][vc_column_text]
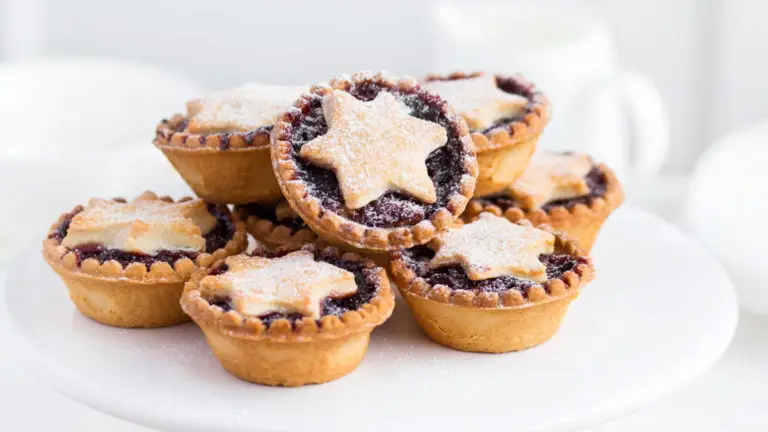
Christmas pudding may have the name, but nothing quite screams Christmas like freshly baked mince pies. They are simple to make, and you can tinker around with the mincemeat to add some personal flair. While the perfect filling is a matter of taste, the case has to be light and crumbly. The technique and recipe below will ensure your mince pies are the envy of anyone lucky enough to get a sample!
Makes 18 individual pies (approx.)
INGREDIENTS
- 8oz cold butter
- 12oz plain flour
- 3 1/2oz golden caster sugar
- 10oz mincemeat
- 1 small egg
- Pinch of salt
- Icing sugar, for dusting
EQUIPMENT
- Bun tin – enough space for 18 pies
- Glass or metal bowl
- 2 table knives
- Wire rack
- Whisk or fork
- Pastry brush
PERFECT MINCE PIE PASTRY
Let’s begin with the technique for perfect shortcake-based pastry. You need to keep the butter as cool as possible throughout the process. If the butter gets too warm, your pastry may end up dense and flaky.
1. Sift the flour into a bowl.
2. Dice the chilled butter into small cubes and then add to the flour.
3. Use 2 table knives to cut the butter into the flour. Slice in opposing directions, almost scissor-fashion.
4. Once the pieces of butter become too small to slice, use your fingertips and thumbs to rub the butter into the flour. Use light pressure and lift the mixture up as you rub. This gets air into the mixture and ensures it remains cool.
5. If at anytime the mixture squishes or sticks to your fingers, cover the bowl and refrigerate for 10 minutes.
6. Continue until the mixture resembles fine breadcrumbs.
7. Add the castor sugar and a pinch of salt to the mixture and combine.
8. Gently bring the mix into a ball and knead a few times to trap more air into the pastry. If the mixture feels tacky, don’t dust with flour, as this will ruin the final consistency. Instead, cover and refrigerate until firm.
MAKING THE CASES
If you are going to the effort of making mince pies, then don’t hide it. Keep them rustic. There will be no rolling out or use of fancy pastry cutters here. It’s all done by hand, literally.
9. Take a walnut-sized piece of your pastry and press it into one of the bun tin holes to form a case. The pastry will not expand, so the thickness you form will be the thickness once baked.
10. Spoon some mincemeat into the case.
11. Take a smaller piece of pastry and flatten it out in the palm of your hand to make a lid.
12. Place the lid on the base. Squeeze the edges together to seal.
13. You should get about 18 individual pies, depending on how thick you want your pies and how deep your filling.
14. You can freeze the pies now and cook later. They will keep for about a month. Or put them in the oven right away.
BAKING YOUR MINCE PIES
15. Preheat the oven to 390F/Gas Mark 6/350F for fan-assisted.
16. Beat the egg and brush some on the lid of each pie.
17. Place bun tins on middle shelf.
18. Cook for 20 mins, or until golden brown on top.
19. Remove from oven and leave to cool in the tin for 5 minutes.
20. Remove from tin and leave to cool on a wire rack.
21. Dust with the icing sugar before serving.
You can enjoy your mince pies now or place them in an airtight container and refrigerate. They will keep for 3-4 days.
Your choice of mouth-watering mincemeat filling now has the perfect pastry home. Whether sitting alone, saddled with brandy butter, cuddling next to ice-cream or covered in cream, your mince pies will be the Christmas treat everyone desires.
[/vc_column_text][/vc_column][/vc_row]

