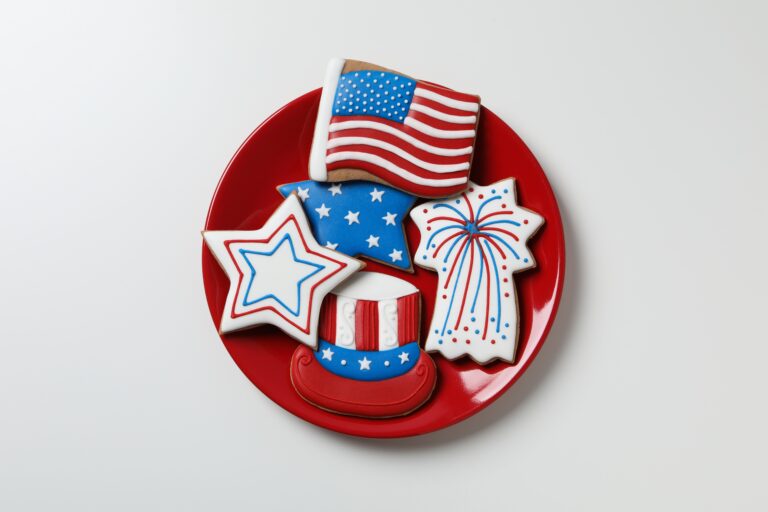
[vc_row][vc_column][ultimate_ctation ctaction_background=”#1879DA” ctaction_background_hover=”#1879DA”]Eager to make a cake with a perfect heart shape? Or flag cookies to celebrate? Use these tips to make perfect designs every time.[/ultimate_ctation][/vc_column][/vc_row]
Whether you are replicating a flag, a shape, or a beloved character on your cakes and cookies, these tips will guide you to delightful results with your desserts.
1. Create Parchment Paper Stencils
Parchment paper can be your best friend when adding designs to desserts, especially if you know how to use it. For this tip, print a picture of the design you want to use. Then lay a piece of parchment paper over it and trace the design. For a simple shape, you can easily trace the outline. But for a design with multiple elements, trace an outline of each part on a different piece of parchment paper to build your design in layers. Now, cut out the outlines and use these as stencils. Press a parchment paper stencil firmly onto your cake or other dessert. Then, apply icing over the stencil and flatten it with an offset spatula. Be sure to cake on the icing so it fills in the outline. Peel the parchment paper away to reveal your perfect design! If you’re working with multiple stencils, start with the base shape and move through the layers. In between each layer, freeze your dessert for 15 minutes so the icing hardens.
2. Freeze Your Designs
Just as in the method above, you should print out a picture of the design you want to use and trace that onto parchment paper. But Instead of cutting it out, you can flip the design over and create your edible design right on the back of the parchment paper. For this method, you would use a piping bag to pipe the design onto the parchment paper, tracing as you go. Then you would put this in the freezer for at least 15 minutes to harden. After, you should be able to peel off the design. To place it onto your dessert, simply apply a fresh layer of icing to stick the hardened design onto. Then freeze again so everything stays together.
3. Copy from the Corner
A final way to recreate a design from a printed picture, which requires the most skill, is to try to copy it onto your dessert. To do this, keep your printed picture in sight and use a piping bag to carefully copy it onto your dessert. This method may work better for cookies while the first method works better for cakes. To match your design, start by copying one corner of the picture and then continue working your way around. To do this with confidence, you can practice piping your copy of the design onto parchment paper first before trying it out on your dessert.
Remember to be patient with decorating and use tools that work for you! Instead of a piping bag, you can always scoop icing with a spoon and spread it out with a butter knife to make a design too :) Make your tools work for you, and have fun!


 Find more cool kits here!